Your product photos have less than one second to make an impact on your website visitors. They are often what the customer uses to decide to buy the product or not. Unable to touch and see the product in real life, they rely upmost on your photos answering their questions about your products.
There are six different types of product photos you could use within your website and also social media and printed advertising:
- Individual photos - only one product is in the photo, ideally with a white background so as not to distract from the product.
- Group photos - here you can group a product range together, or more than one product, ideally still with a white background. This photo type gives you the opportunity to show the customer a wider range of your products, and is used often in advertisements and social media posts.
- Scale photos - a scale photo shows the product next to other objects with the direct intention to show the products' scale. This helps the customer get a grasp on knowing how big or small the product is as they can't see it in real life.
- Detailed photos - for products that have lots of small parts or require close up photos, you should use detailed photos to highlight specific product parts.
- Packaging photos - customers like to experience the entire product journey, and than includes seeing the product packaging too. After all, you've spent money on making it look great, so show the customer the packaging next to the product in a photo.
- Lifestyle photos - lifestyle photos show the product in action and help to tell a story of the product use in somebody's daily life. Lifestyle photos are often used in social media, emails and advertisement promotions too.
How to Take Perfect Product Photographs
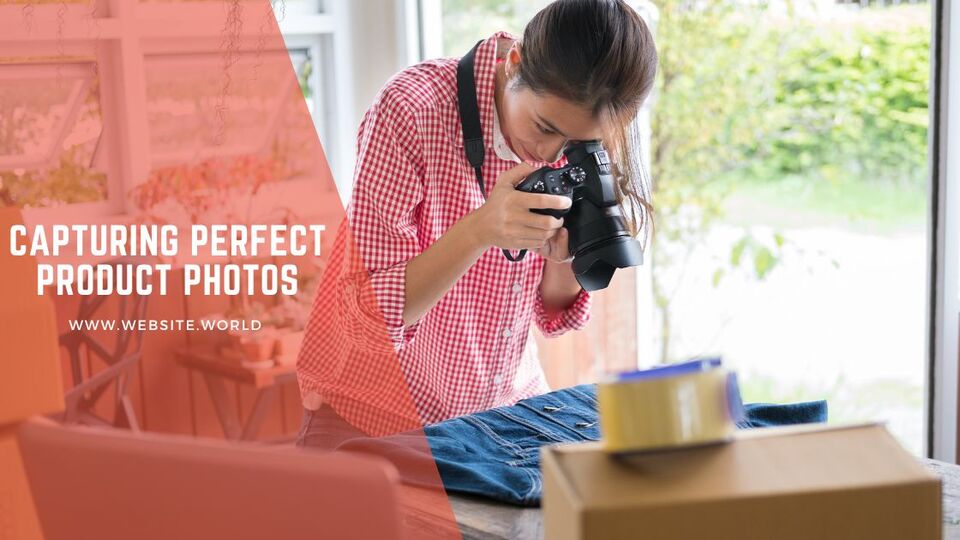
One of your main product photos should be the product alone with a white background. A large white sheet of paper attached to the wall while the other end rests on a table, forming an invisible curve, is the easiest way to get a good background. This type of background is called a sweep. You could instead use a light tent or a professional photography background. To take amazing product photos, here is our collection of top tips:
- Use a good camera or phone - gone are the days when you need to buy yourself a top of the line DSLR camera, as many mobile phones have excellent cameras built in nowadays. When taking the photos, expect there will be some editing required, but aim for minimal by taking lots of photos from which you can select the best.
- Use a tripod - a tripod will hold your phone or camera steady as well as ensuring you can achieve a standardised product photo - one that is at the same height and distance from the product.
- Choose natural or artificial lighting - natural lighting is known as soft lighting, as it is a softer range of light than a light bulb. Morning and late afternoon provides a warm and even glow for your photos. Set yourself up near a window which has indirect light for best results. Artificial light is harder as it produces a smaller but more focused light. This is ideal for products with physical details that need to be highlighted.
- Bounce your light to solve shadow problems - shows occur when using either artificial or natural light. That's where you should be using a reflector, which is a shiny type sheet to bounce light back onto the product to reduce shadows.
- Use a good photo editing tool - it is most likely that your photos will require some editing. There are several different photo editing software options available online, including Adobe Photoshop, Canva, Lightroom, Snapseed, Pixlr and Fotor.
- Use props when required - lifestyle product photos are likely to use props and people to demonstrate how the product can be used.
Posted: Wednesday 21 August 2024